How To Hit The Ball Right: A Tennis Coach’s Step‑By‑Step Guide
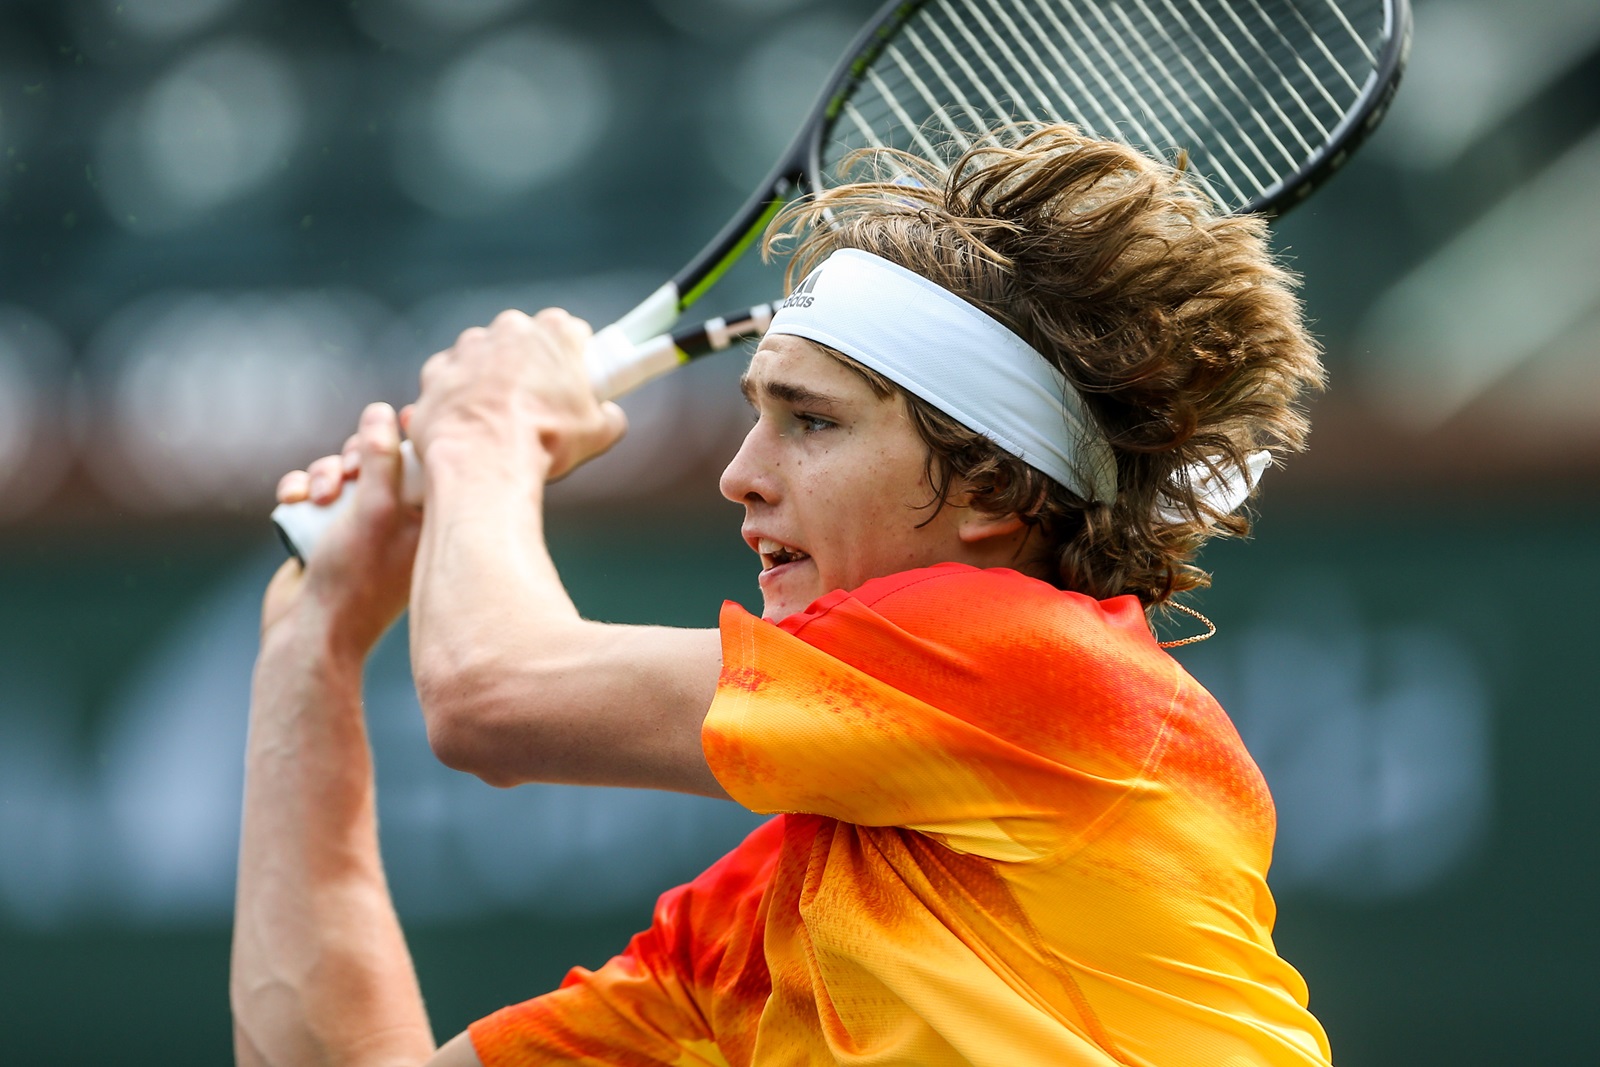
Learning how to hit the ball in tennis doesn't require natural talent or years of practice before things click. It requires understanding a handful of fundamentals, drilling them with intention, and building consistency over time. As coaches, we've seen players transform their game in weeks once they stop guessing and start following a clear process. This guide walks you through every piece of hitting well, from reading the ball off your opponent's racket to grooving a repeatable contact point on both sides.
Key Takeaways
- A good contact point in front of the body is the single most important factor in clean ball striking. Mastering the contact point is vital for effective hitting.
- You must read the ball from the moment the opponent hits it, tracking direction, pace, height, depth, and spin so you arrive balanced and early.
- Use a semi Western grip (or Eastern) on the forehand and a stable backhand grip to produce natural topspin and consistent trajectories.
- Players improve fastest through simple, repeatable drills-shadow swings, drop-hit drills, hitting on the rise-practiced two to three times per week.
- PlayYourCourt offers local coaches, video coaching, and YouTube lessons you can use alongside this guide to accelerate your progress.
1. What "Hitting The Ball Well" Really Means
Hitting the ball well means creating a repeatable swing that strikes the ball cleanly at a good contact point and sends it where you intend. That's it. Power, spin, and control all start from clean contact-not brute force or racquet speed alone.
Most players realize too late that swinging harder doesn't equal hitting better. Beginners tend to "poke" at the ball (arm only, no rotation) or "swat" at it (maximum effort, zero control). Both approaches produce the same stuff: mishits, inconsistency, and frustration. The answer is simpler than you'd think. Smooth, relaxed swings are learned skills, and they come faster when you practice consistency over power to improve accuracy.
This post covers forehand and backhand technique, the ideal contact point, footwork and timing, how to read the ball, common mistakes and their fixes, and a weekly drill plan so you can track your improvement on tennis courts near you.
The 5-Minute Power Serve Sequence fixes your racket drop — without swinging harder.
2. How To Watch The Ball From The Opponent's Hit To Your Contact Point
Reading the ball is the core receiving skill in tennis. You need to track the ball from the moment your opponent's racket makes contact all the way to your own racket strings. If you pick up the ball late, everything downstream-footwork, preparation, contact-suffers.
Reading the ball involves understanding its five main characteristics. Those five characteristics are direction, pace, height, depth, and spin. Direction tells you where to move. Pace tells you how much time you have. Height and depth determine your position relative to the baseline. Spin changes how the ball bounces and how your racquet face should meet it.
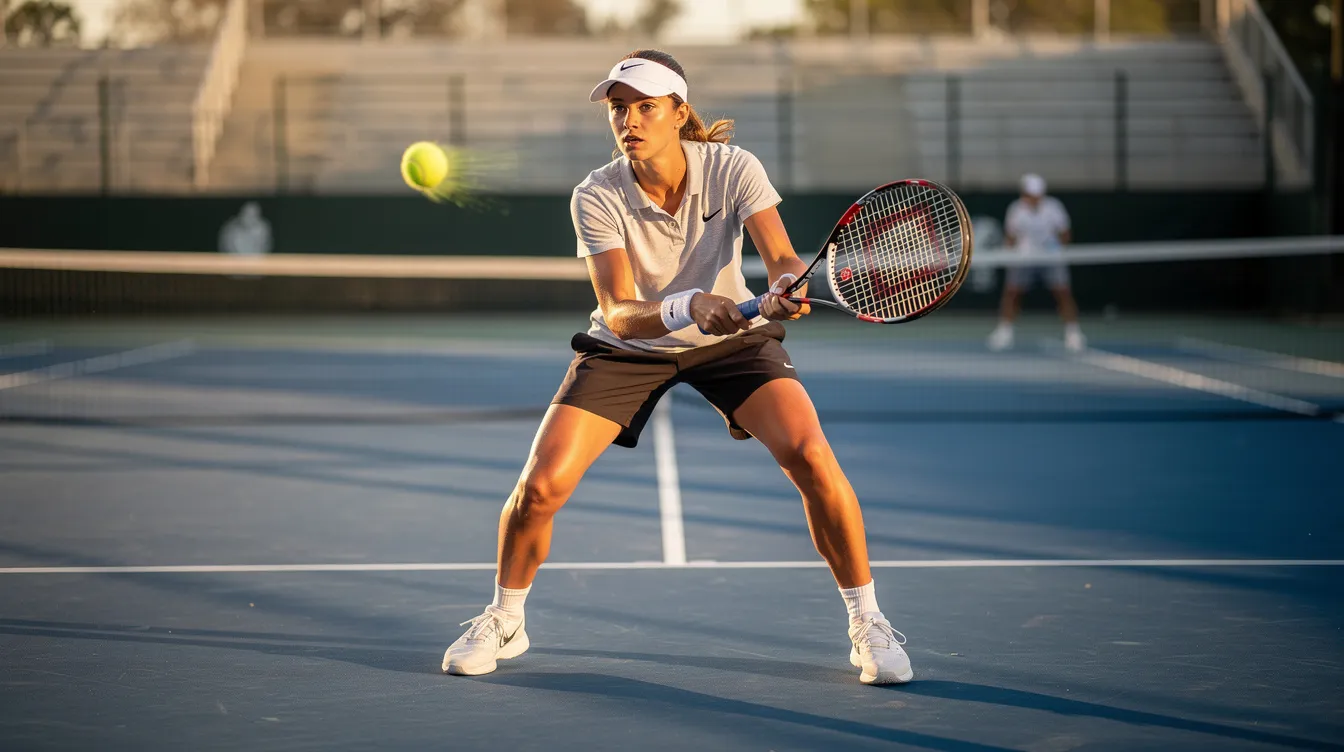
The Shout-Out Game: During practice rallies, say "Now!" out loud the instant your opponent hits the ball. The Shout-Out Game helps improve ball-reading skills during practice by forcing your brain to register the opponent's contact earlier. Effective ball reading allows players to prepare their racket early, which is half the battle. Advanced players read the ball earlier than inexperienced players-they watch the opponent's grip, swing path, and upper body rotation before the ball is even struck. Keeping eyes on the ball prevents losing position during a hit.
3. Grip Basics: Setting Up The Racquet To Hit Cleanly
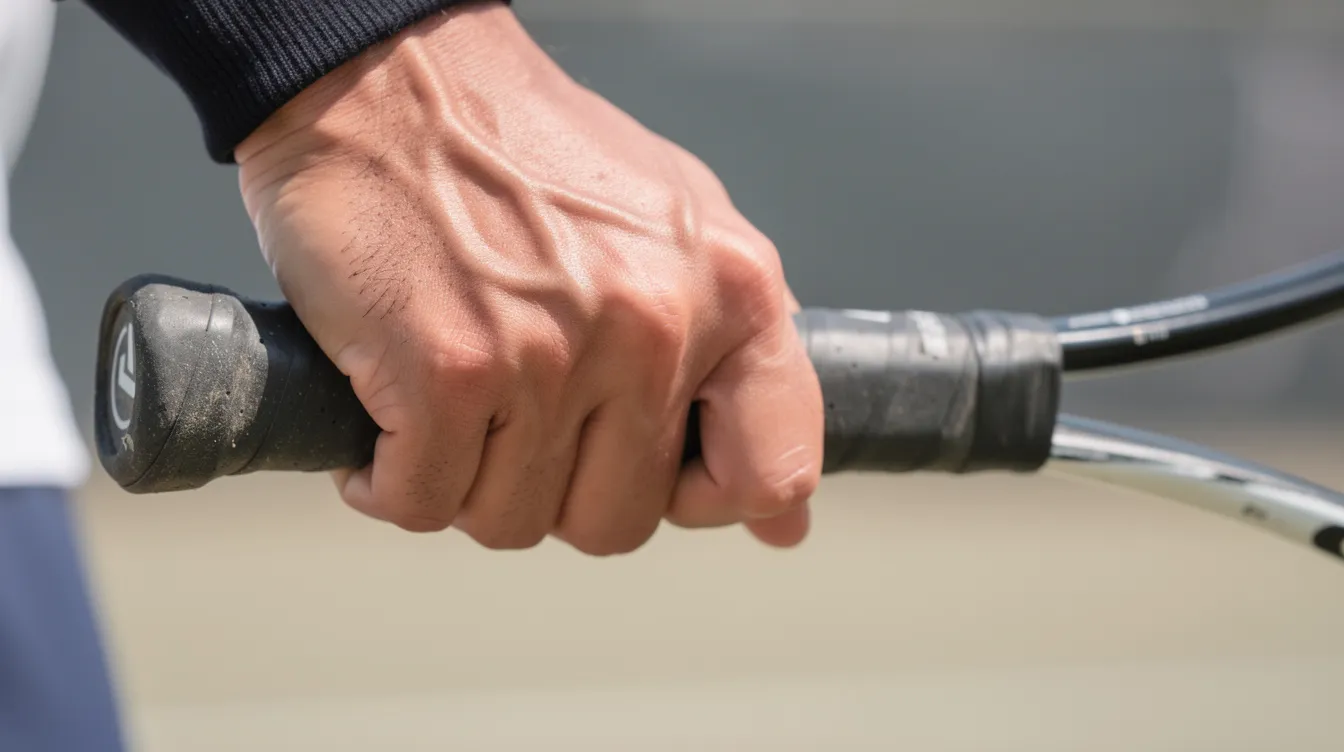
The right grip puts the racket head in a strong position at contact so you don't have to "steer" the ball with your wrist. You control the racket face at impact to influence ball direction, and grip choice is what makes that natural rather than forced.
Semi Western Grip (Forehand): Place the base knuckle of your index finger on Bevel #4 (for right-handers). This grip naturally closes the racquet face a bit, which encourages a low-to-high swing path and generates topspin with higher net clearance. It's the grip most players on tour use today, and it's what I recommend for learning to hold a tennis racquet properly.
Eastern Forehand Grip: The knuckle sits on Bevel #3. It produces flatter shots, works well on low balls, and transitions easily to the continental grip for volleys. The tradeoff is less topspin margin. For a deeper comparison, check out Eastern vs Western Grip In Tennis.
Use an Eastern or semi-Western grip for forehands-either works, but stick with one long enough to build consistency.
Backhand Grips: For a two-handed backhand, the dominant hand typically uses an Eastern backhand grip while the non-dominant hand mirrors a forehand position for support. A one-handed backhand uses an Eastern backhand grip on the top bevels, requiring strong timing and arm extension.
Your grip directly affects where the ideal contact point sits. The semi Western grip pushes contact slightly more forward and higher; the Eastern allows a flatter trajectory but demands earlier arrival on high balls.
4. The Good Contact Point: Where And When To Meet The Ball
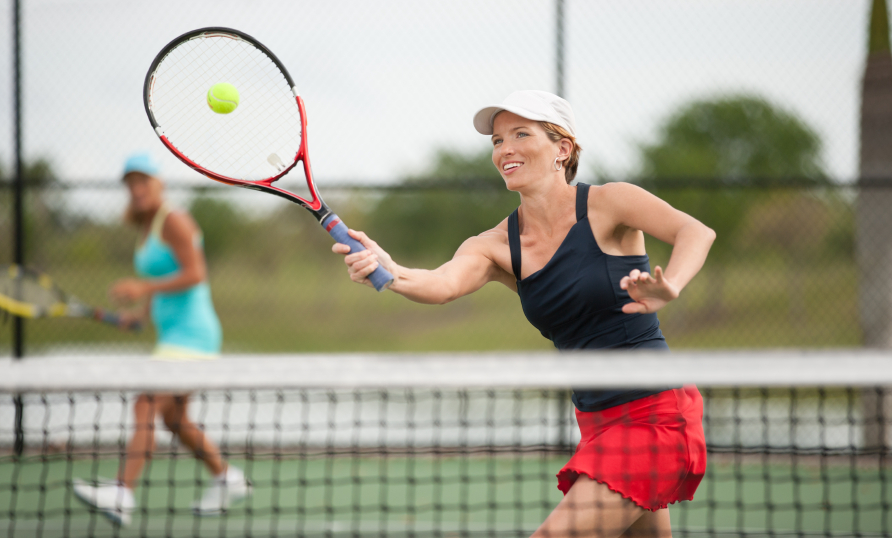
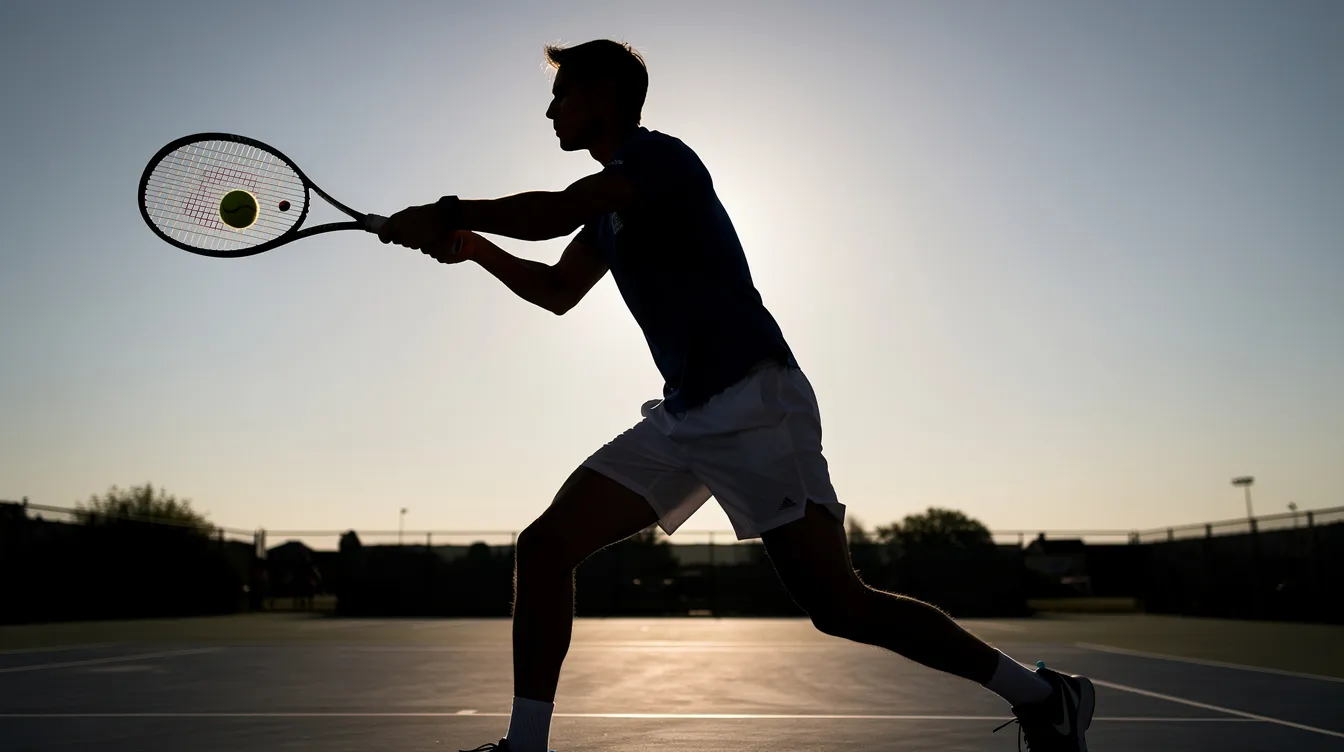
A good contact point is typically at waist height, comfortably in front of the lead hip, with the racquet face square or slightly closed toward your target. Players should aim to make contact around waist-height for forehands, and hitting the ball in front improves balance and body weight transfer.
The contact point shifts depending on shot and grip:
- Forehand, semi Western grip: Contact is slightly further forward, height ranges from waist to shoulder.
- Forehand, Eastern grip: A bit less forward; more challenging on high balls.
- Backhand, two-handed: Contact is in front of the front hip-more forward than most beginners imagine.
- Backhand, one-handed: At arm's length with strong torso rotation.
What happens when timing goes wrong:
- Too late: Ball drifts behind the body. You lose control, push shots long, or float weak replies.
- Too early: Shots pull wide or dump into the net.
Imagine a vertical sheet of glass a half-step in front of your lead hip. Every swing, your racket should meet the ball as it crosses that plane. That's your target on every single shot.
5. Forehand Technique: Step‑By‑Step To A Solid Hit
The modern forehand is most players' main weapon. It's built around rotation, a stable contact point, and relaxed acceleration through the kinetic chain.
Phases of the swing:
- Ready position: Adopt a ready position with feet shoulder-width apart, knees bent, racquet up.
- Unit turn: Hips and shoulder rotate away from the ball; non-dominant hand guides the racket back.
- Racquet drop: The racket head drops below the incoming ball's bounce height; wrist stays relaxed.
- Forward swing to contact: Step forward with the front foot, lead with the hips, then torso, then arm. Use a low-to-high swing path to create topspin. Meet the ball in front.
- Follow-through: Finish the swing with a smooth follow-through over the opposite shoulder. Maintain balance, head still.
This sequence is the kinetic chain in action-legs push the ground, force travels through hips, torso, arm, and racket. Studies show intermediate players using a semi Western grip with full body rotation gained 4–7 mph in outbound shot speed compared to arm-only swings.
Drill cue-"Swing straight through the ball": Imagine three to five balls lined up in front of you. Swing straight along that line rather than across your body. This promotes extension, helps you swing the racket straight toward the target, and lets you generate power from rotation rather than wrist flick. Topspin shots provide a larger margin of error over the net, so brush up the back of the ball.
For a visual breakdown, watch the PlayYourCourt forehand lesson on YouTube and read the full How To Hit A Forehand In Tennis guide.
6. Backhand Technique: Clean, Confident Contact On Both Sides
A weak backhand is a sign your opponent will exploit all the time. A reliable one keeps you neutral in rallies and lets you play points on your terms from the other side of the court.
Two-Handed Backhand (recommended for most recreational players):
- Turn both shoulders early; the non-dominant arm drives the stroke.
- Step with the front foot toward the ball, transferring weight forward.
- Meet the ball out in front of the front hip-further forward than you think.
- Finish high, wrapping both arms around the body.
Coaching cues: "Turn the shoulders first." "Keep the lead arm strong." "Meet the ball out in front."
One-Handed Backhand: Requires an Eastern backhand grip, a longer backswing, and contact at full arm extension. The ability to time the hit precisely is critical because there's no support arm. Follow-through flows long over the shoulder with strong body rotation.
For detailed technique, see How To Hit A Backhand In Tennis.
The 5-Minute Power Serve Sequence fixes your racket drop — without swinging harder.
7. Footwork, Balance, And Timing: Getting Your Body To The Ball
Good technique collapses without footwork. You can have the world's prettiest swing, but if your feet don't get you to the right position, your contact point falls apart.
The split step: Use a split-step when the opponent hits the ball-a small hop, landing on the balls of the feet, ready to push in any direction. Players who wait until the ball crosses the net lose an estimated 0.2–0.4 seconds of reaction time. At modern pace levels, that's the difference between being set and being late.
Movement patterns:
- Adjustment steps: Small shuffles when the ball is close.
- Crossover steps: For bigger lateral coverage.
- Recovery steps: Get back to a neutral court position after every shot to prepare for the next shot.
Keep your knees bent, weight centered, and avoid standing flat-footed. For drills and deeper technique, visit Tennis Footwork: Drills, Techniques & Common Mistakes.
8. Hitting On The Rise And Adjusting To Different Balls
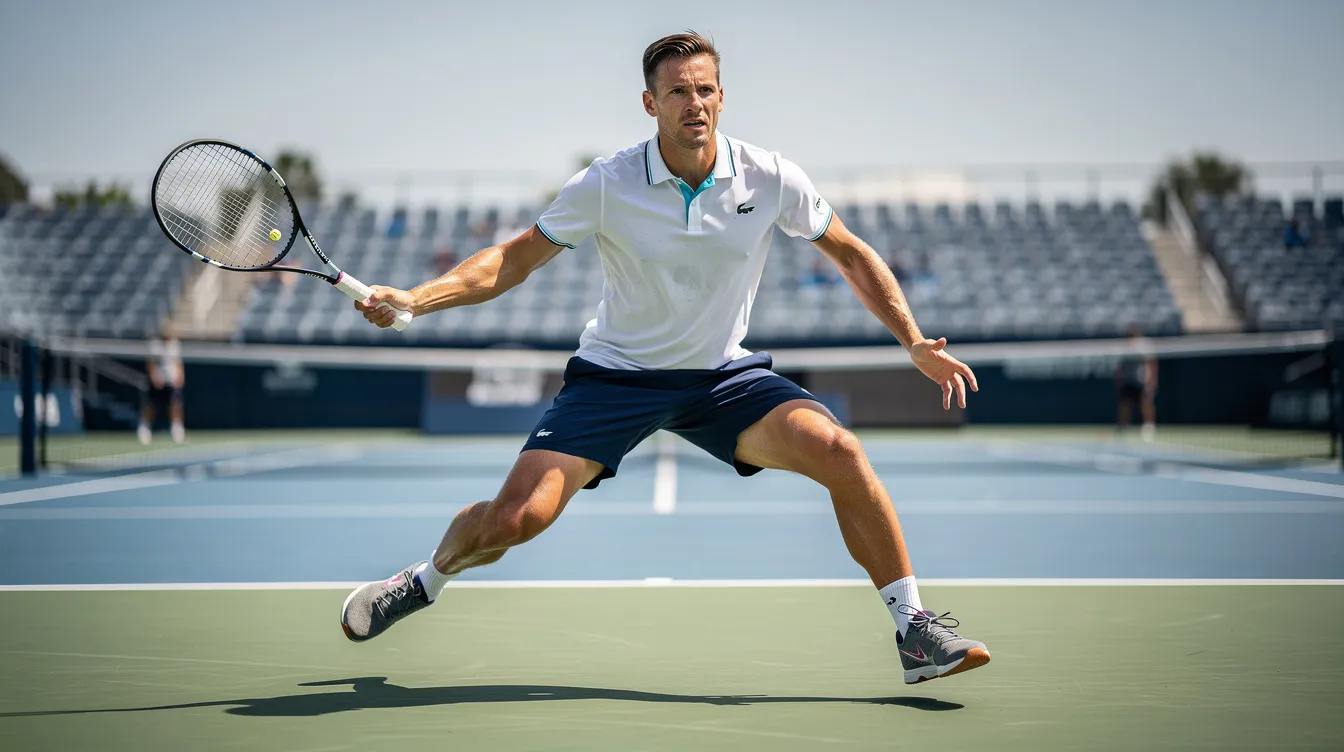
Hitting on the rise means striking the ball just after the bounce while it's still climbing-before it falls. This is an advanced timing skill, but even intermediates can start grooving it with the right approach.
Hitting on the rise reduces your opponent's reaction time because you're sending the ball back faster. Early ball contact allows for more aggressive play, letting you control the baseline and push your opponent deep. Hitting on the rise gives opponents less time to react and set up their next shot.
Adjustments required:
- Shorter backswing, more compact stroke preparation.
- Earlier footwork-step forward inside the baseline rather than waiting.
- A slightly higher contact point since the ball is still rising.
Reading the ball early is crucial for hitting on the rise. Hitting early requires reading the ball sooner and precise timing. Hitting on the rise requires precise timing and stroke preparation-there's less room for error, so focus and preparation matter even more.
Dealing with different balls: High, heavy topspin balls force you to take a higher contact with your shoulder turned. Low skidding slices demand a flatter swing path and bending your knees to get under the ball. Understanding three ways to hit a tennis ball-flat, topspin, and slice-helps you adjust.
Progression drill: Start by letting the ball bounce and drop to a comfortable height. Then gradually step closer to the baseline to take the same ball earlier on the rise. Record yourself to compare contact height and foot position over a million times-or at least a few sessions.
9. Common Mistakes When Hitting The Ball (And How To Fix Them)
Here's a coach's checklist of the most frequent errors I see when teaching players how to hit the ball in tennis:
| Mistake | Visible Symptom | Underlying Cause | Corrective Cue |
|---|---|---|---|
| Late contact | Ball behind shoulder, shots fly long or wide | Slow footwork, late reaction to opponent | Call out "Hit!" at contact; use the Shout-Out Game |
| Over-swinging | Wild, uncontrolled power; arm fatigue | Trying to force power from the arm alone | Shorten backswing; focus on rotation to generate power |
| Stiff arm/wrist | Jarring feel, mishits, no fluidity | Over-gripping, tension | Maintain a stable wrist at contact but keep the rest of the arm relaxed |
| Poor spacing | Reaching, leaning, off-balance at contact | Not reading the ball or moving feet early enough | Three small adjustment steps before every swing |
| Looking up too early | Eyes leave ball; frame hits | Anticipating where the ball is supposed to go | Freeze your head at impact; watch the strings meet the ball |
| Flat-footed hitting | No weight shift, weak shots | No split step; back foot planted | Footwork ladder drills; emphasis on pushing off the ground |
| Inconsistent grip | Spin and angle change randomly | Grip drifting mid-point | Check grip between every point; practice grip changes deliberately |
The wrong habit repeated becomes permanent. If something feels off, the fix is almost always in your feet or your contact point-not in swinging harder.
10. Drills To Groove Contact And Consistent Ball Striking
Dedicated drills accelerate improvement more than casual play alone. Here are the ones I use most:
- Drop-Hit Drill: Drop the ball yourself (or have a partner drop it), let it bounce once, and hit with focus on meeting it at the ideal contact point in front. Do 3 sets of 20 forehands, then 20 backhands.
- Coach Toss Drill: A partner or coach tosses balls to waist height. Step in, make contact in front, and swing through. 10–15 tosses per side; build racquet speed gradually.
- Wall Hitting: Hit against a wall for 5–10 minutes. This is a great self-rally to develop control and hand-eye coordination. Alternate forehand and backhand every few hits.
- Cross-Court Mini-Tennis: Stand inside the service boxes with a partner and rally cross-court. Keep the pace low, emphasize early preparation and clean contact. Play for 5–10 minutes.
- Shout-Out Game: During live rallies, shout "Now!" when the opponent hits. This trains early reading and faster preparation. 20–30 rallies per round.
- Contact Point Cones: Place a cone on the court where your ideal contact should happen. Force yourself to step in and strike the ball at that spot every time.
For more structured sessions, explore Tennis Drills For Intermediate Players and How To Practice Tennis At Home. Watch drill demonstrations on the PlayYourCourt YouTube channel.
11. Tables: Mistakes By Level And Weekly Practice Plan
Common Errors and Fixes by Level
| Level | Typical Error | Visible Symptom | Simple Fix / Drill |
|---|---|---|---|
| Beginner | Watching ball too late; flat-footed stance | Shots late, mishits, body too static | Shout-Out Game; split-step timing; drop-hit practice |
| Intermediate | Late contact on high balls; over-swinging for power | Flashes of quality but many long balls; arm fatigue | Semi Western grip training; coach toss drills; video review |
| Advanced / Pro | Over-rotation; struggling with low skidders | Inconsistent depth; timing drift under pressure | High-precision contact drills; varied-surface practice; match-pressure sets |
Weekly Drill Plan to Improve Ball Striking
| Day | Focus | Drills To Use | How You Know You've Improved |
|---|---|---|---|
| Day 1 | Forehand contact | Coach toss at waist/shoulder height; semi Western swing emphasis; video review | More balls landing deep inside target zones; cleaner feel at contact |
| Day 2 | Backhand & balance | Two-handed rep drills; drop-hit backhands; footwork ladder pairing | Fewer off-balance strikes; consistency over varied feeds |
| Day 3 | Reading the ball & timing | Shout-Out Game; mixed feeds; hitting on the rise progression | Faster preparation; more balls taken on the rise without mishits |
| Day 4 | Match simulation | Mini-tennis into full court rallies; practice sets emphasizing clean contact | Fewer forced errors; higher rally count; stable contact under pressure |
This plan assumes two to four sessions per week, each about 60–90 minutes. It's realistic for busy adults and youth using local courts or PlayYourCourt lessons. Track improvement with simple metrics: forehands and backhands in a row into a target area, mishits per 50-ball feed, and how stable your body feels at the moment of impact.
12. Using PlayYourCourt Coaching, Video, And Community To Improve Faster
As a coach, I can tell you that turning these concepts into real results on the court comes down to structured feedback. A local PlayYourCourt pro can watch your feet, grip, and contact in person-correcting the small misalignments that drills alone might miss.
PlayYourCourt's video coaching lets you send clips of your forehand and backhand for analysis. Your coach will annotate your contact timing, stance, and swing path so you know exactly what to fix. For free visual guidance, subscribe to the PlayYourCourt YouTube channel for tutorials on every topic in this guide.
Membership benefits-flexible leagues, practice partner matching, and gear discounts-give you the context to apply these hitting tips in real game situations. Check out The Ultimate Tennis Training Guide for a complete roadmap.
13. FAQ
How long does it take to learn to hit the ball cleanly in tennis?
Most beginners feel noticeably cleaner contact within four to six weeks when practicing two to three times per week using structured drills like the ones above. That typically means around 60–70% of groundstrokes landing on target with minimal mishits in controlled drills.
Should I start with a semi Western grip or something more neutral?
Many modern coaches start adult beginners with a mild semi Western forehand grip because it naturally supports topspin and higher net clearance. That said, an Eastern grip works well for players on low-bouncing surfaces or those who favor net play. A local PlayYourCourt pro can quickly confirm which suits your swing and contact point best.
Is it better to hit hard or just focus on getting the ball in?
Consistency and clean contact come first. Once you can routinely make 20–30 balls in a row with a good contact point, then you can safely add more racquet speed and power. Chasing pace before you have control is a recipe for frustration.
How do I know if my contact point is actually improving?
Track simple metrics: how many forehands and backhands in a row land in a target area, how many mishits per set of 50 balls, and whether your body feels stable and balanced at impact rather than reaching or lunging. Video analysis-even on a phone-reveals whether contact is consistently in front of your lead hip.
Can I learn to hit the ball well just by using a wall or do I need a coach?
A wall and solo drills build a solid foundation for feel, footwork rhythm, and contact consistency. But periodic sessions with a qualified coach-whether in person or through PlayYourCourt video coaching-will catch subtle technical flaws like grip drift or racquet face misalignment before they become ingrained habits. The combination of self-practice and expert feedback is what produces the fastest improvement.
Keep Improving


Similar Posts
- Find Tennis Partners Fitness Home Page Feature Improve My Game Quality Family Time Tennis Tennis Tips for Kids
Reasons You Should Play Tennis
Thinking about learning to play tennis? Or maybe picking up a racket after years away from the sport? There’s so many reasons why you should! Read below our countdown of the top 10 reasons to play tennis brought to you by PlayTennis.com.
How To Get Started Playing Tennis
Read the 7 tips below on how to get started playing tennis: 1. Make the mental decision to begin [sc:optin-box-modal slug=”add-15″ linktext=’Bonus: Watch “Add 15 MPH To Your Forehand With This Simple Fix”‘ bgcolor=”F8F1DE” linkcolor=”000000″ ] Like anything else, you need to want to do something in order to do it. Maybe you’ve…
Beginner Tennis Lessons for Adults
Congratulations! If you’re reading this, you’ve made (or are on the verge of making) a great decision to be one of the millions out there taking beginner tennis lessons for adults. You can play tennis no matter how old you are. You’ve probably heard people say this a million times, and I’m going to say…
Wimbledon or World Cup? They actually have a lot in common
World Cup Fever? I’ll be honest. I caught it. This “illness” even trumped my Wimbledon viewing the past two weeks. But I’m okay with it. After all, the World Cup only comes once every four years. I am one of the growing number of Americans who love soccer—almost as much as I love tennis. It’s…
Featured Posts Find Tennis Partners Fitness Home Page Feature Improve My Game Quality Family Time Tennis13 Signs You Are Obsessed with Tennis
13. When someone asks about your partner, you immediately think of your doubles partner. Someone asks you about your partner and your response is something like, “Good, they’re finally getting their first serve in” or “Not bad, but I hate it when (s)he tries to do a Bryan Brothers chest bump.” It’s okay, as long…